There never seems to be enough room for all the plants you want to grow. If space allows, create new garden beds to expand your planting space and increase the beauty of your landscape.
Start by evaluating your current landscape design and plantings. Perhaps, expanding an existing garden bed or connecting two smaller beds is a better option than creating a whole new garden.
No matter the option selected, start by laying out the planned expansion or new bed. Always start by calling 811 or filing online at https://call811.com/811-In-Your-State at least three business days before you begin digging with any equipment or tool, including hand tools, that disturb the soil. This is a free service that helps protect people from injury and repair costs that may occur if they strike or damage a buried utility line.
To help us all remember, Aug. 11th has been declared 811 Day. If this is old news, please share this important information with others. We want everyone to create beautiful gardens safely.
Begin your project by using a rope or hose to outline the area. Avoid tight corners or creating narrow grass borders that will be difficult to mow or require hand trimming. Adjust your garden layout to avoid underground utilities whenever possible. If not, only use hand tools when digging within 18” of any underground utility.
Once satisfied with the layout, take a soil test to find out how much and what type of fertilizer you will need for the plants you are growing. Testing now means you’ll have the information before it’s time to fertilize in spring.
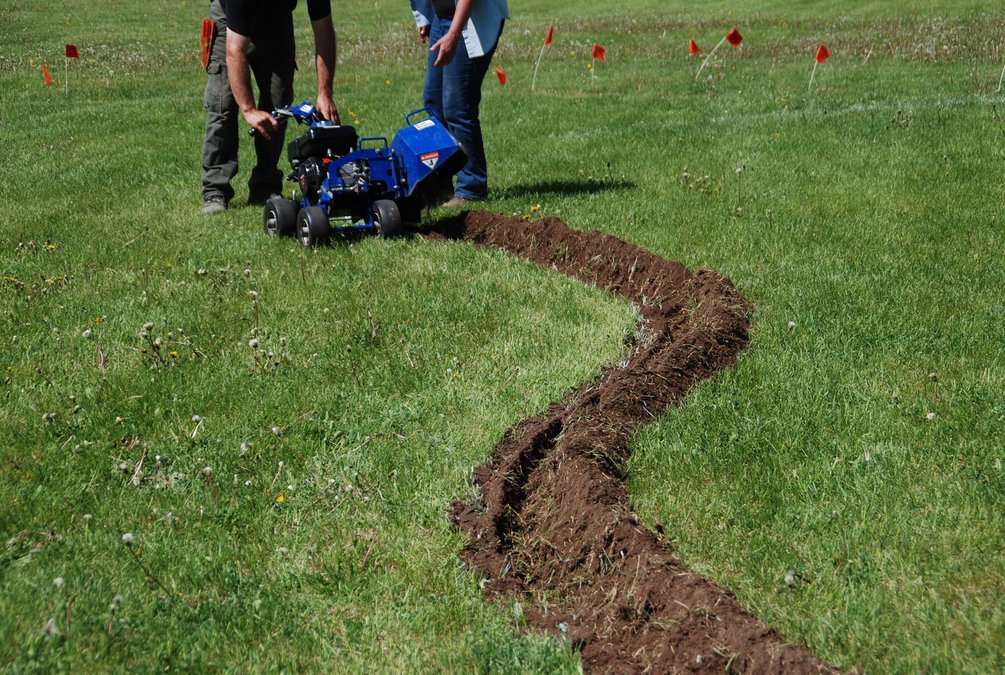
Next, edge the bed. Use a shovel to dig a V-shaped trench around the garden’s border. Or rent or borrow a power edger to make larger jobs easier.
Once the edging is complete, remove healthy grass with a sod cutter and use it to fill bare spots in the lawn. Otherwise, create a planting berm or add it to the compost pile. Place the green side down and wait for it to decompose.
Another method is to edge the garden, cut the grass as short as possible, and then cover the area with cardboard or several layers of newspaper. Top this with several inches of organic mulch and wait for the grass and cardboard to decompose and plant in the spring. Or for immediate planting, push back the mulch and cut through the cardboard or newspaper.
Covering the new planting area with black plastic for at least four to six weeks and clear plastic for four to six of the hottest and sunniest weeks are also effective methods. Both should kill the existing grass and weeds.
If you killed or removed the grass, now is the time to improve the soil if needed. Add two to four inches of organic matter like aged manure or compost to the top 8 to 12 inches of soil. These materials improve the drainage in heavy clay soil and increase the water-holding ability in fast-draining sandy or rocky soils.
After you mix in the organic matter and rake the garden level and smooth, your garden is ready to plant. Or cover the soil with shredded leaves or other organic mulch to suppress weeds and prevent soil erosion for planting next spring.
Whether you plant now or wait for next spring, always select the right plants for the growing conditions. And always call 811 before you dig.
Melinda Myers is the author of numerous books, including Small Space Gardening. Myers web site is www.MelindaMyers.com.


